


Are you ready to get your creative self out there streaming, but overwhelmed by all the bells and whistles? Fear not! We’ll break down how to stream on Twitch with OBS like a pro, all in this handy guide so it’s easy to get set up today!
By using OBS and a stream manager like StreamElements, you’ll have all your bases covered. Both are free, and combining them allows you to set up personalized stream alerts, overlays, tipping, and a lot more.
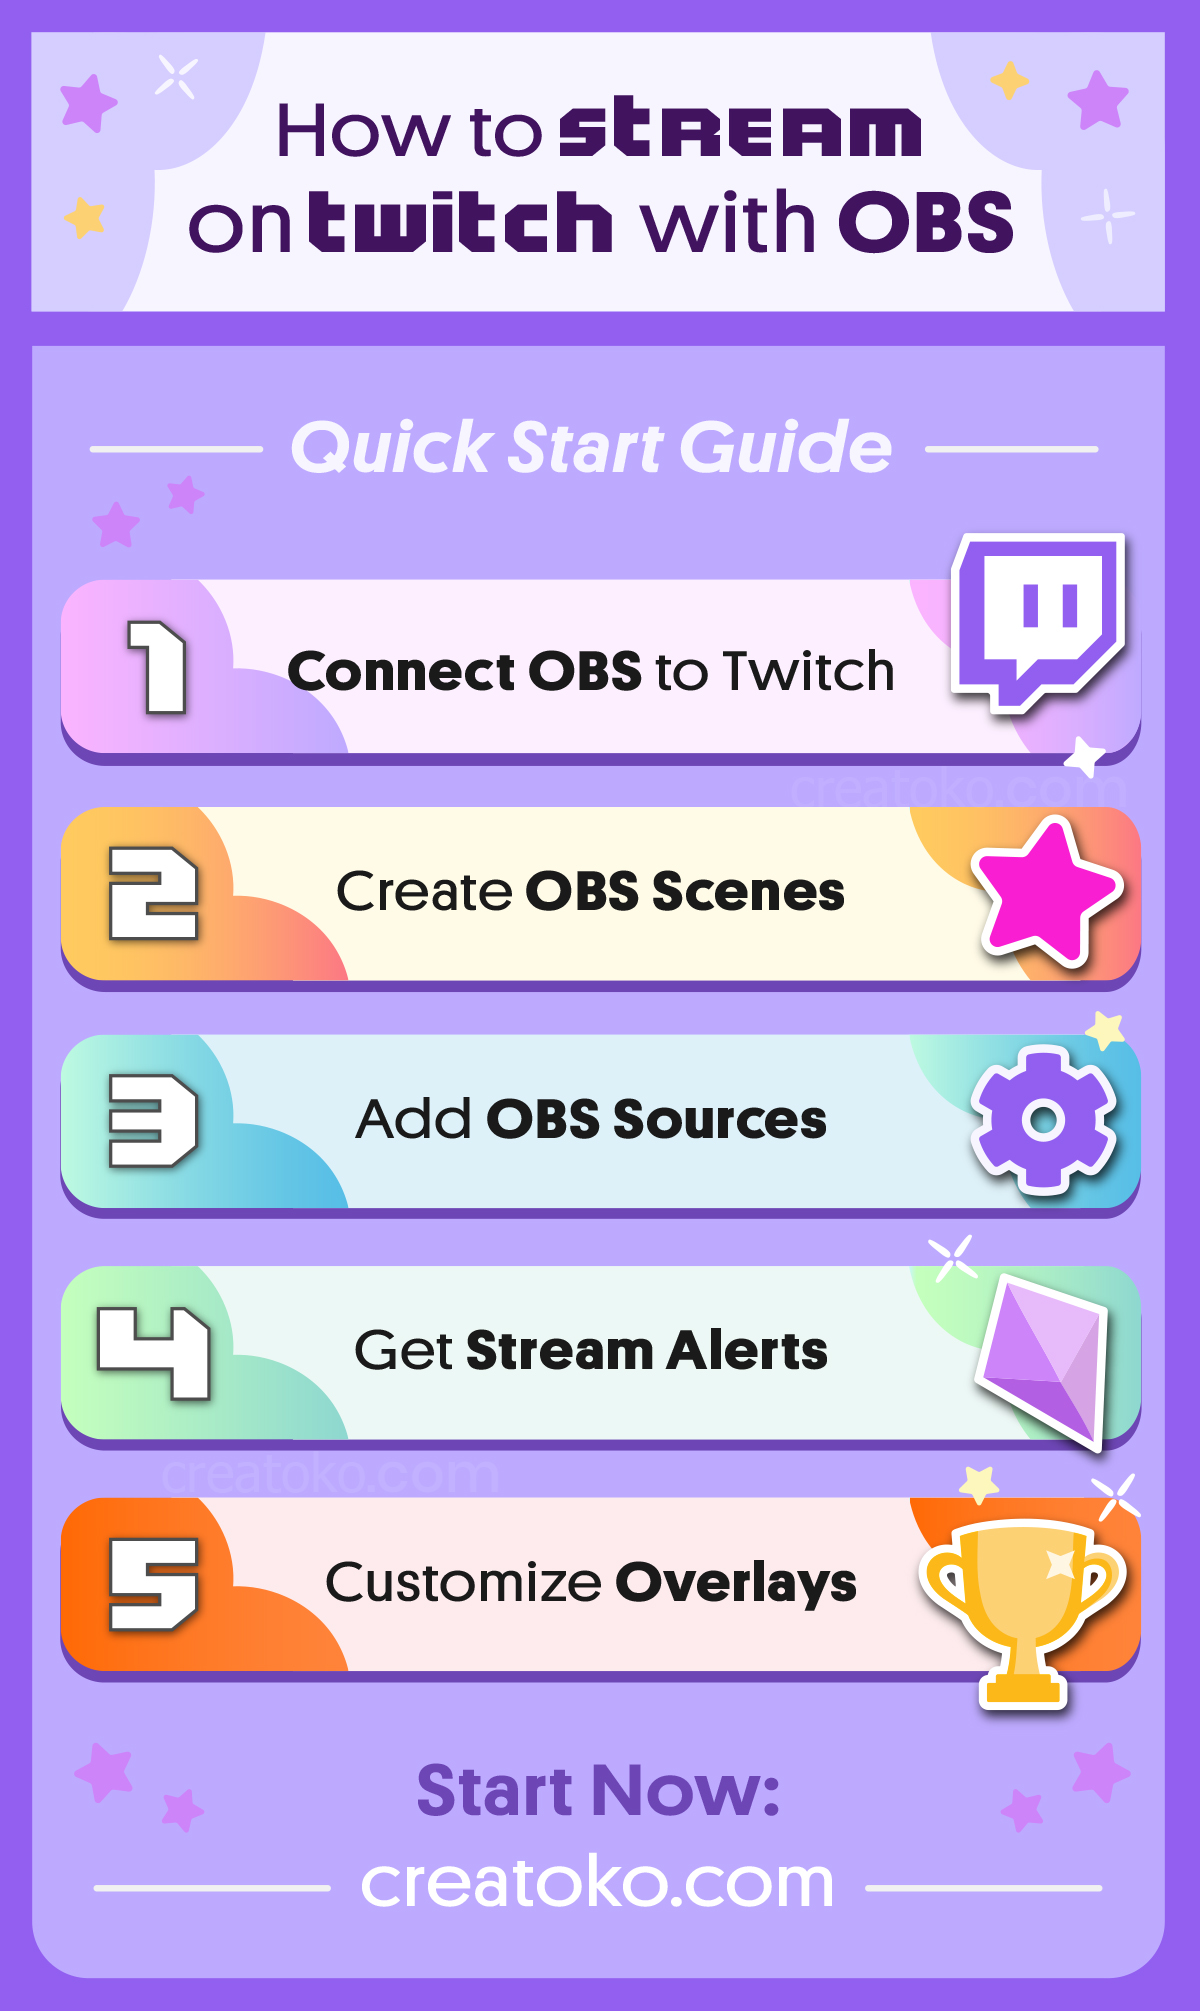
How to Stream on Twitch with OBS:
This quick guide will show you how to connect OBS with Twitch and how to set up OBS scenes and sources.
- Get your stream key from Twitch.
First, get your Twitch stream key from your Creator Dashboard under Preferences then Channel. Copy the Primary Stream Key hidden by asterisks.
- Turn on Two-Factor Authentication.
Go to your Twitch Settings then Security & Privacy to enable two-factor authentication. You will enter your phone number to receive a verification code. Twitch only allows you to stream with this enabled.
- Enter your stream key in OBS.
Open OBS and click on the settings button. Click on Stream from the sidebar, then select Twitch from the Service dropdown menu. Paste your stream key in the empty field and click OK.
- Create a new scene in OBS.
Add a new scene by clicking the plus sign button under Scenes and naming it. Some possible names are Starting, Ending, Gameplay, BRB, or Chatting.
- Add your sources to the scene.
Now click the plus sign under the Source column and select a source type. You can layer several sources like your monitor display, a game capture, a webcam, and alerts. (See the sections below for explanations of sources and alerts.)
- Set up your audio.
Under the Mixer column, use the gear icons to open the Properties menus for your desktop audio and your microphone. Select the microphone you want to use and adjust volumes as needed. Advanced Properties will allow you to adjust your monitor settings (how you hear yourself in your headphones).
- Test your setup.
You can test your setup with a practice run by recording a video instead of livestreaming. You might find out that something’s not working, especially if your audio levels aren’t balanced.
- Start Streaming
Finally, click Start Streaming under the Controls. Your stream will start on Twitch, so be sure to have your chat open on your Twitch profile page or from the Dashboard.

OBS Sources Explained
In OBS, Scenes are the layouts that appear on screen. They might be a BRB scene, game scene, or chatting scene. Within the scenes, you can add and layer sources. So create a new scene and use this guide to OBS sources:
- Videos: Add a media source, and select the video file on your computer. You can check Loop for animations.
- Images: Add an image source. You can resize the image and move it around the screen with your cursor.
- Webcam: Select Video Capture Device and choose your camera or camera filter.
- Monitor Screen: Add a display capture. This will show the entire screen of one of your monitors. Use the dropdown to select which monitor to display. For full-screen, set the size to 1920 x 1080. You can also drag the corners to resize it.
- PC Game: You can use window capture or display capture. It’s up to you if you prefer to use display or window capture, but some people have frame-rate issues with window capture.
- Console Game: Select game capture to access your game capture card.
- Text: Select text to easily add information you’ll need to change regularly, like a stream topic.
- Alerts: Add a browser source and paste the URL of alerts you set up in StreamElements.
- Overlays: Add a browser source and paste the URL of overlays made in StreamElements. Set the size to 1920 x 1080.

Get Beautiful Twitch Overlays for OBS Instantly! Click Here

Set Up Twitch Alerts in OBS
Now you might be wondering how to stream on Twitch with OBS and get stream alerts, those handy, sound-effect-laden popups when you get a new subscriber or donation. Luckily for you and me, a free StreamElements account’s got us covered. In fact, StreamElements has an array of features for streamers like alerts, overlays, tipping, and merch. You’ll set them up in StreamElements and get a URL to paste into a new OBS Browser Source.
- Go to StreamElements and connect your Twitch account.
- Go to your Dashboard and click My Overlays in the sidebar.
- Create a new overlay, then click Widgets at the top of the screen and choose AlertBox.
- You can now customize and test the alerts, but for quick use, go ahead and save the file.
- Click Launch to get the URL from the Export Overlay popup.
- Open OBS and create a new Browser Source for your scene. Paste the URL and set the size as 1920×1080.
- Name this new browser source layer Alerts.
- Copy and paste the Alerts source into all of your OBS scenes as the top layer.
- Keep this alerts design as a separate overlay than your actual overlay with other widgets and graphic designs.
- If you change it in StreamElements, the change will reflect across all your scenes.
StreamElements is my current go-to, but there are other good services out there like Muxy.
 StreamElements Overlays for OBS
Okay, so you now can set up scenes in OBS, but the real magic happens when you mix design with widgets in browser-based overlays. Widgets are things like chat, activity feeds, and sub goal bars. So log into StreamElements with your Twitch account, head to your Dashboard, and check out the following features:
- For a pre-made overlay template, click Themes Gallery.
- For custom overlays, upload files to a blank template in My Overlays.
- Add StreamElements widgets like chat and recent subs on top.
- You can upload video files as webm files, but mp4s appear to work, too.
- Click Launch, copy and paste the link into an OBS browser source at 1920×1080 px.
Safety Note: If you use StreamElements and set up tipping, try to use a PayPal business account in your stream’s name instead of a personal account. Doing otherwise can give away your real name to viewers who tip you. Learn more ways to protect yourself with my guide to Twitch privacy here.

Bonus Tips to Stream to Twitch with OBS
Made it this far? Congrats! Now crack into a few bonus tips on how to stream with OBS. These babies’ll help you avoid common mistakes and do cool tricks with OBS scenes and sources, too. Yes! You’re doing the thing. 🏆
- Use the lock icon next to a source to keep it in place and avoid selecting it by mistake. You can also toggle the eye icons to make it visible and invisible.
- You can make transitions between scenes smoother with a simple fade in and out effect. Select Fade in the dropdown and enter a 1500ms duration.
- To use a green screen, right-click your camera source and select Filters, then click the plus sign and choose Chroma Key. There are plenty of other filters to experiment with, like Color Correction.
- You can copy and paste sources into different scenes. If you do, be aware that changing source settings or filters in one scene will change them in other scenes, too. Recreate a new source manually if you need to avoid this.
- For alert boxes, copy and paste the same one into every scene as the top layer.
- Don’t add alerts to your overlay graphics when you make them with StreamElements, as every scene could play the same alert sound effects at once. Instead, make a separate overlay that only contains the stream alerts in StreamElements or Muxy.
- Check before you stream that your mute function works for your microphone or audio.
- If desired, you can customize your settings further in the left sidebar. For example, under Output, you can select your streaming size. 1920 x 1080 pixels is fairly standard.
- A selected source is outlined in red.
Get Beautiful Twitch Overlays & Stream Assets Instantly! Click Here
Congratulations!
You did it! Hopefully this guide helped you set up OBS for streaming on Twitch without too many hiccups. Ready for the next steps? Be sure to check out our guide to how to make income on Twitch and 14 ideas to get more followers or subs. I’ll keep adding to this guide over time, so please let me know in the comments if you have questions!
